Hello artists and families! Enjoy taking a look back at all the amazing work the students created during the month of January!
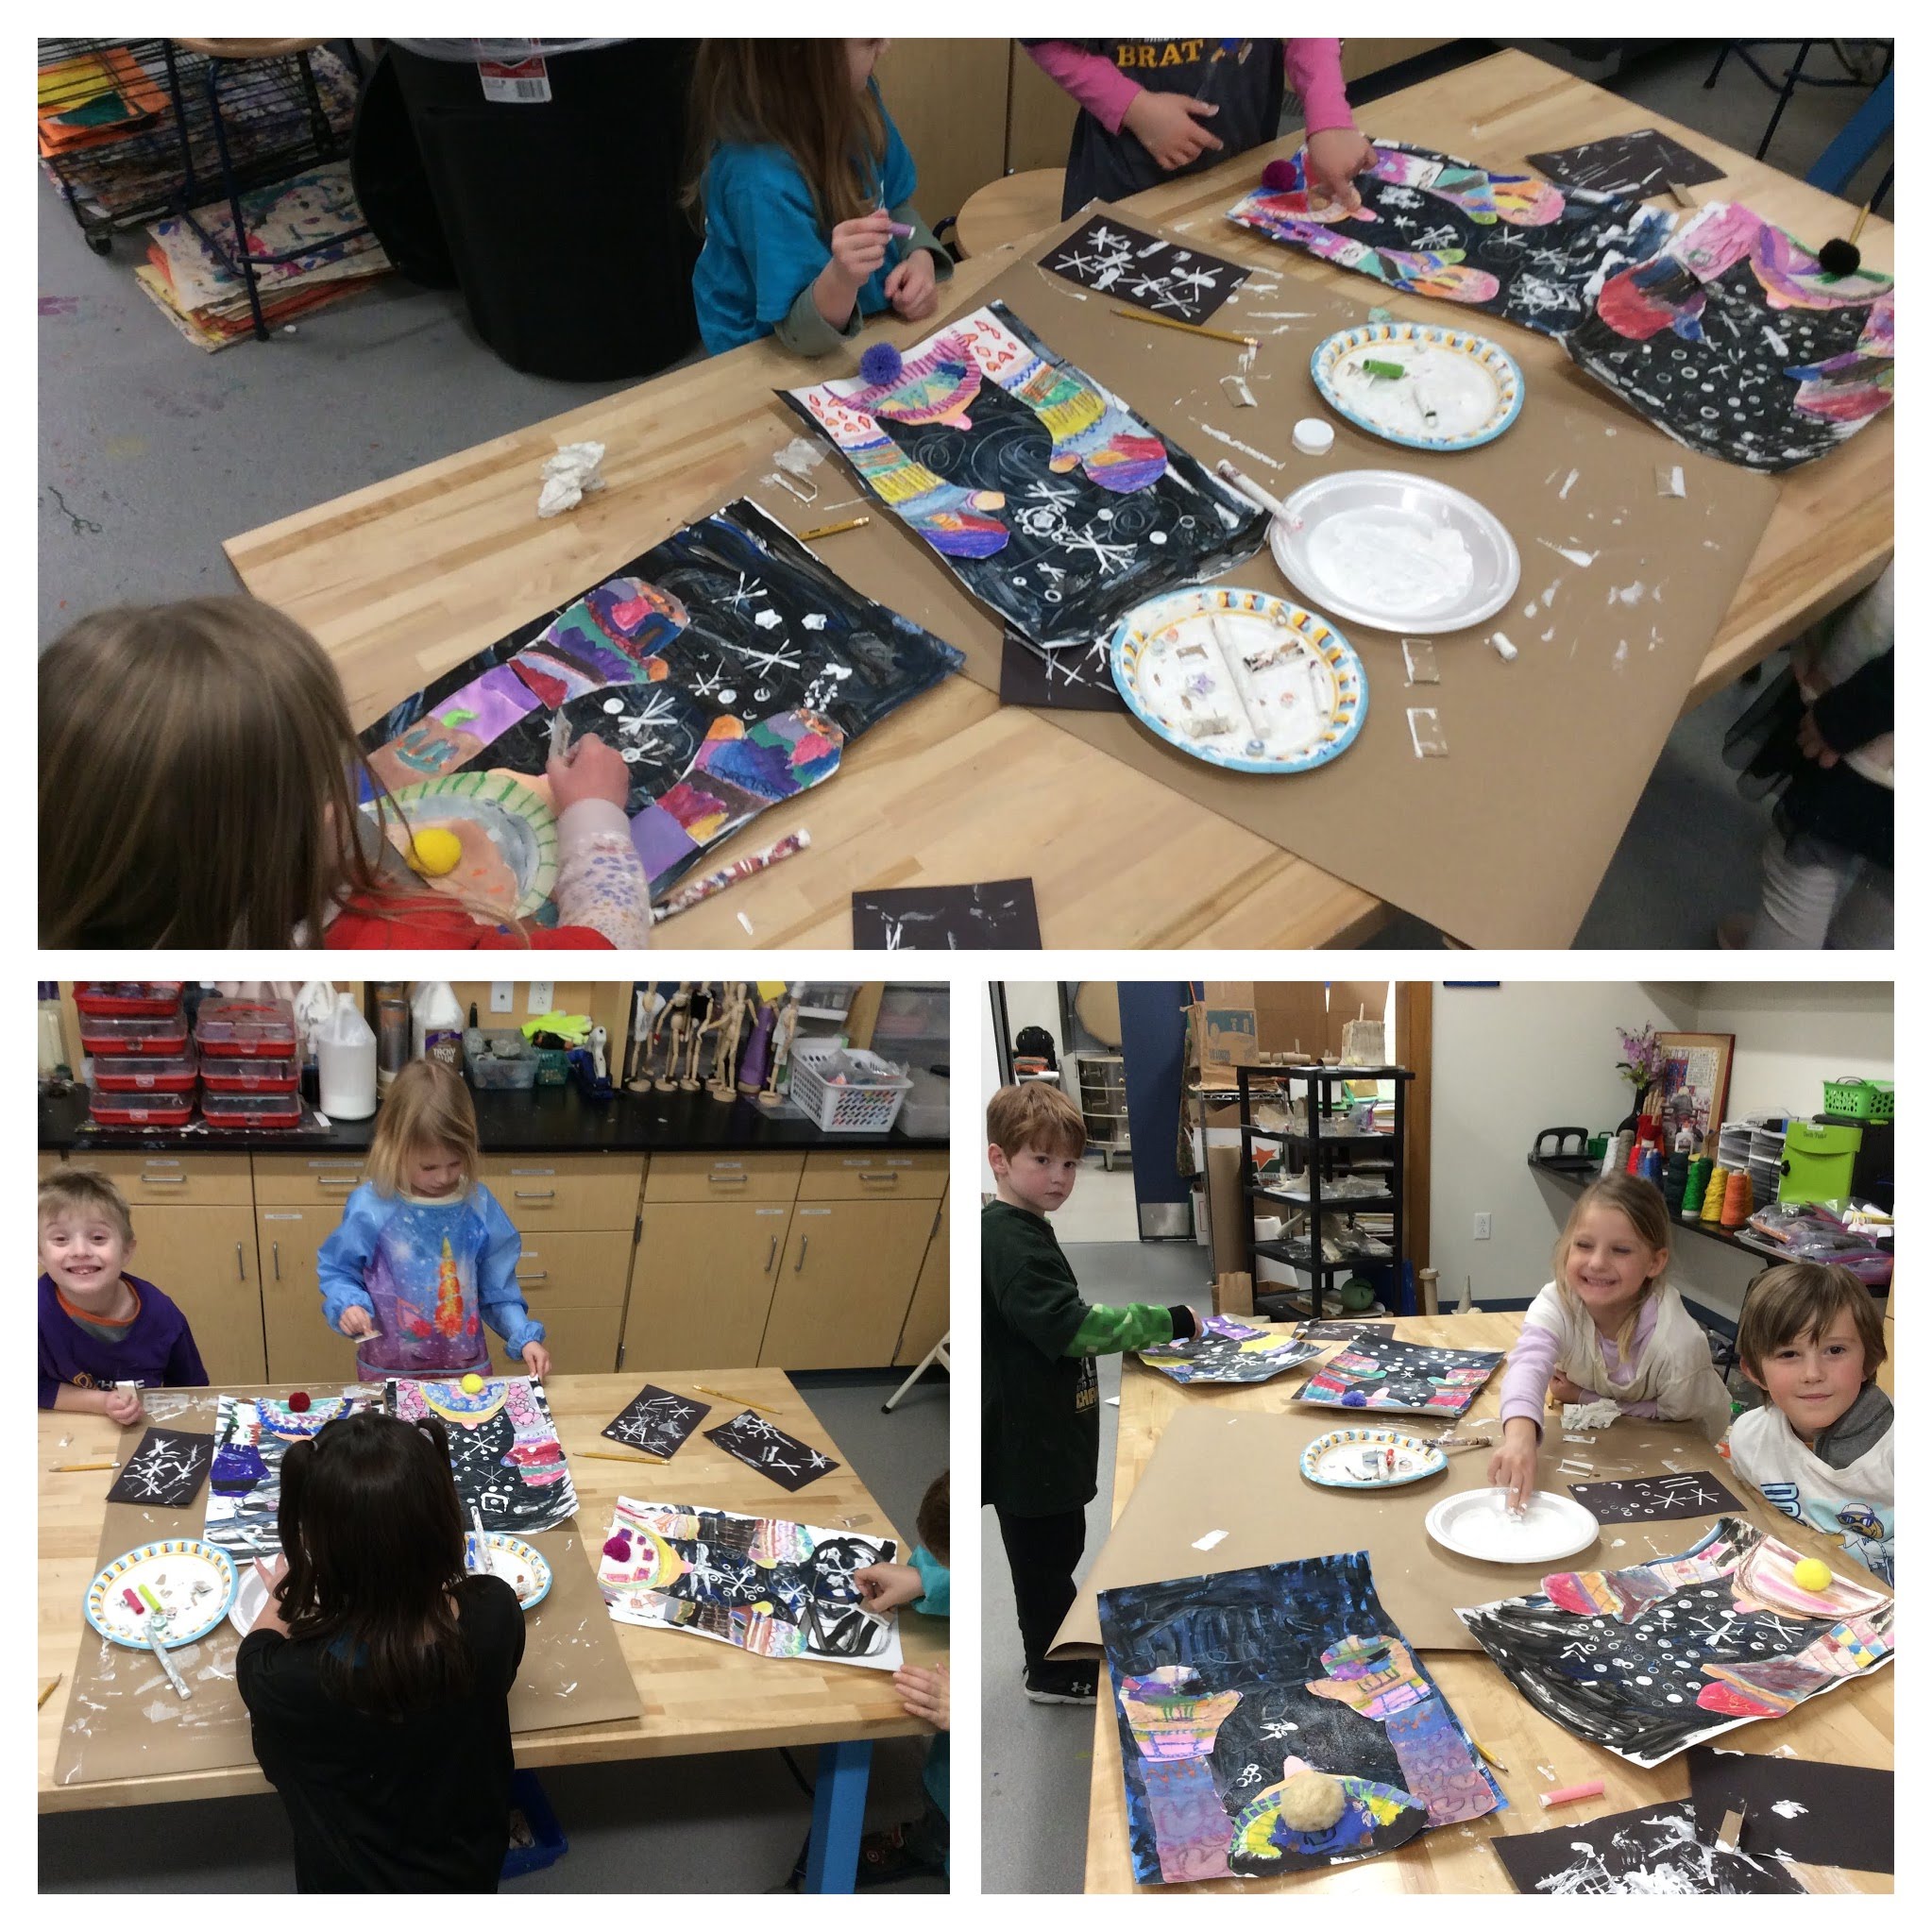
Kindergarten artists completed their Catching Snowflake creations! The students learned all about snowflakes by watching a cool science video. We then practiced drawing six pointed snowflakes and then learned how to print the with found objects! The students used materials like cardboard (straight and folded into a V), marker caps, beads, cookie cutters, etc. As they printed, I walked around the room sprinkling glitter on their wet paint like a glitter fairy to give their artwork some sparkle! Adding the pom-pom at the end of the project was definitely a favorite too! :)
We are now creating CUPCAKES for our next projects! We will be making 2-dimensional cupcake paintings called Color Wheel Mix & Match Cupcakes. We will then be crating 3-dimensional Clay Cupcakes! The students have already had a chance to learn to draw the cupcakes in their sketchbooks and also enjoyed practicing making designs with playdough, in preparation for the clay! :)
 |
| Kinder artists printing snowflakes with found objects! |
 |
| Mrs. Fry's Kindergarten class up on display at Westlawn! |
 |
| Mrs. Rocky's kindergarten class with their Catching Snowflakes artwork! Getting them all arranged for a picture was no simple task! I suppose the phrase "herding cats" would be a good description, haha! |
 |
| Kinder artists learned how to draw a cupcake and then practiced making their designs with playdough! |
 |
| The students practiced making coils, among other clay making methods. Preston's made a nice mustache ;) |
 |
| Before we make our clay cupcakes we are going to make Color Wheel Mix & Match Cupcakes using the primary and secondary colors! We will go from creating in 2D to creating in 3D! :) |
First grade artists finished making their one of a kind Clay Snowmen during the month of January! Throughout the project the students practiced important clay making skills such as: forming pinch pots, attaching clay together with the "4 S's," creating a coil for the neck piece and a tapered coil for the nose. They of course added their own creative twist to their creations by making added features. Some of them got pretty elaborate! Hopefully the artists did in fact do the "4 S's" for each added piece so it all stays together through the firing. After the projects have been bisque fired the students will enjoy painting them!
The first grade artists are now beginning a new artwork, Kimono Self Portraits! We are beginning the artwork by making a background with a cherry blossom tree and a moon. The students learned to draw the trees and also had fun with a masking technique using a cup and watercolor paint to make the glowing moon appear. Soon we will be painting in the tree and using a "blow painting" method to add more branches! :)
 |
| Proud first grade artists pose with their Clay Snowman creations :) |
 |
| Each snow person has a personality of its own! They are all so creative and made with love :) |
 |
| Mrs. Robert's first grade Clay Snowmen! |
 |
| As the snowmen dry out and wait to be fired in the kiln, we are starting our next project... Kimono Self Portraits! |
Second grade artists completed their Pop Art Paints! A favorite part of the project was adding the air dry clay (Model Magic) for the "paint" coming out of the tube. Some of the clay broke apart so we practiced our creative problem solving and made our mistakes into a "beautiful oops" by adding paint splatters or little squirts of paint. The artwork took a while to complete, but the students had a lot of fun and learned so much making the mixed media artwork... drawing, painting, printmaking, and paper Mache sculpture... wow!
For our next artwork, the second grade artists were going to start their clay projects, but for now we put that on hold as we got a fun opportunity to design shirts for their 2nd grade musical, SQUIRM! The students sketched out a design based on their character, drew up a final draft on a 9X 12 paper, and will now trace their designs with sharpie onto their shirts. We only have a class and a half to paint, so hope it all goes well and comes together! The students are so excited to be making their costumes :)
 |
| Check out these awesome paint tube sculptures! hard to believe they started as empty t.p. rolls! |
 |
| Students had a blast shaping the Model Magic for the "paint!" |
 |
| All second grade Pop Art Paints on display at Westlawn! |
 |
| Some close up views of the masterpieces :) They add so much color and cheer to the hallway! |
 |
| Sketching out our t-shirt designs for the "Squirm" musical! This group of kiddos all chose snakes. |
Third grade artists are currently working on their Clay Canopic Jars! They spent a good amount of time planning and practicing before using the clay. They brainstormed and added images of inspiration to a Google Doc, sketched out different views in their sketchbooks, and practiced making features for the head with playdough in preparation for the clay. The students then began the clay making with rolling out a slab of clay that was cut using paper templates. They used a foam cup as a support and wrapped the clay around it to form the cylinder. We reviewed the "4 S's" - score, slip, stick, and smooth in order to attach the base.
We are now onto the designing stage which will involve a lot more creativity, risk taking, and problem solving! The students carved in hieroglyphics (either their name, name of their creature, or a characteristic of one of the two) with a wooden stylus. We will then create a dome shape (upside down pinch pot) that will be attached to a circular base for the head. At that point the students will form and attach additional features that resemble their chosen creature!
 |
| 3rd grade sketches of Canopic Jar designs! |
 |
| Students practiced drawing their chosen head from different angles and then gave the playdough a try before starting the clay! |
 |
| They did a wonderful job, and I cannot wait to see how their final Caly Canopic Jars turn out! |
 |
| Making the cylinders for the base of our Canopic Jars using clay slabs and a foam cup as the support. |
 |
| Adding hieroglyphics to personalize the front of their jar. |
 |
| Canopic Jar bases from Mrs. Anderson's 3rd grade class |
Fourth grade artists are having a BLAST with their Paper Mache Puns and Idioms! They are all so clever and artistically appealing! After completing the paper Mache stage, the students started painting. They were encouraged to give attention to craftsmanship and thoughtfully add colors that resemble their chosen subject. Soon, the students will be on to the final stage... embellishing! They can use a variety of art materials, other than paint, to enhance their artwork and give it some more texture. Materials may include: glitter, sand, buttons, googly eyes, feathers, yarn, felt, etc. We'll see what they come up with! We sure have used our fair share of hot glue for the project already!
 |
| 4th grade artists paper macheing their armatures! As usual, some students loved the paper mache, and other could definitely do without, haha! |
 |
| Coming together! Students were so creative with coming up with a 3D design for their puns and idioms! |
 |
| Now the painting process begins! |
 |
| Mrs. Sherill's class enjoying adding all sorts of colors and details to their paper mache sculptures! |
 |
| Can you start to identify what their sculptures might be? |
 |
Top Left: "Butter-fly" Top Right" "Turtle Sundae"
Bottom Left: "Banana Split" Bottom Right: "Saved By the Bell" |
Fifth grade artists are exceeding my expectations (and probably their own) with their linoleum carved relief prints! The quality of the prints and the advanced art methods they have learned are middle or high school level! After completing "test" prints with black ink on white paper and white ink on black paper, the students could use any combination of colors for their final print of four images. They saw many different ways to go about this, including rotating their design to create radial symmetry, flipping their image for bilateral symmetry, printing multiple colors over each other, creating a gradient with the ink, and my personal favorite... reduction prints (carving - printing - carving more - printing with a new color... and repeat).
After completing our prints, the students signed their work, added them to their Paint Pour Frames. They are FABULOUS! :)
 |
| 5th grade artists carving their linoleum blocks. |
 |
| Each student created two test prints (black ink on white paper and white in on black paper) before creating their final print with colors of their choice. |
 |
| Three awesome printers, and three fantastic owls :) |
 |
| Check out these AMAZING prints! The kids had so much fun, and they turned out SO GREAT! |
 |
| Students learned some advanced printing techniques that are often taught in middle or high school. Pictured above is a radial design by turning the block, a reflection design (harder than it looks), and a reduction print (hockey pucks) in which you carve - print, carve - print, etc. |
 |
| Some Parkview examples form Mrs. O'Leary's class :) Olivia had so much fun printing, she decided she would also print her design on her smock! How can I be mad at that?! Love the excitement! |
 |
| Westlawn prints on display in the art room windows! |
 |
Some fabulous prints from Mr. Hartling's class at Thorson! All so unique :)
|