Happy spring and welcome back to the Art Blog!
It's art show season! Earlier in March, the Gallery of Student Art opened at the Cedarburg Cultural Center and is still going on through April 16th. Another art show is happening at the Cedarburg Public Library through the end of April. Between the two shows, I have over 100 pieces of student work on display! Lots of terrific artwork to check out if you haven't already :)
Cedarburg Cultural Center Art Show Photo Album HERE
Cedarburg Public Library Art Show Photo Album HERE
Also... seeing as summer is right around the corner I wanted to share a couple art opportunities I have come across that your young artist(s) may be interested in.
Main Street Art Camp:
In celebration of its 10th anniversary, the Cedarburg Art Museum presents Main Street Art Camp: Creating Artistic Masterpieces. This children’s art camp will be held every Friday in the museum’s Outdoor Courtyard and Sculpture Garden from June 23 through July 28. Weekly themes will reflect the Museum’s architecture, current exhibitions, and origins of Wisconsin Art. Celebrating the 10th Anniversary of Cedarburg Art Museum, children will be encouraged to explore the featured artists of Wisconsin as they study their work and create their own art through creative expression.
Main Street Art Camp offers a range of sessions that align with a variety of age groups. Children aged 3 to 11, all skill levels and abilities, are invited to participate:
Artists in Exploration (3-5 years): 9 to 10:30 AM
Setting Forth Artists (6-8 years): 11 to 12:30 PM
Immersed Artists (9-11 years): 1 to 2:30 PM
Registration is now open. Each session is $9.00 per child or $50.00 per child for all sessions. Cedarburg Art Museum members at the Preferred/Family level or above will receive a 10% discount on their registration. To register or find more information, visit www.cedarburgartmuseum.org/camp or contact the museum at (262) 377-6123 or info@cedarburgartmuseum.org.
See digital flyer HERE
The museum is also looking for both adult and student (aged 12-18) volunteers to assist at Main Street Art Camp and other various programs through 2023. If you have any interest, please contact the museum.
Cedarburg Cultural Center Youth Art Classes:
https://www.cedarburgculturalcenter.org/youth-classes
Inside the art studio, we continue to learn, grow, and enjoy creating every day!
Check out what we've been working on...
Kindergarten artists are nearing the end of their Clay Cupcake project! The students first learned to draw a cupcake in their sketchbook. They then practiced clay making techniques and designs with playdough. Once they were given the clay, they created two pinch pots... one for the bottom which was made in a silicone cupcake liner, and one for the top that was flipped over upside down. We then had a friendly competition to see how long of a coil they could make for frosting. That was wrapped around the cupcake like a car going up a parking ramp. We finished the clay making by forming and shaping a variety of toppings. We practiced the very important clay making methods of "score, slip, stick, and smooth" in order to join the clay together.
Soon, the young artists will get to PAINT their Clay Cupcakes after they have been fired in the kiln! Yahoo! :)
 |
| Practicing with play-dough before making our Clay Cupcakes! |
 |
| All that play-dough practice paid off! The kinders did GREAT with making their two clay pinch pots and a LONG coil to wrap around for frosting! |
 |
| Mrs. Olson's class and their adorable and delicious looking cupcakes! |
 |
| Some cupcake close ups and proud cupcake artists! :) |
 |
| Look at those AMAZING cupcakes! Ready to dry out and go into the kiln. |
 |
| Some spring creations during our last art class before spring break :) |
First grade artists are in the midst of their fiber unit! They get to make TWO types of batiks: a paper batik and a fabric batik. The subject of their artwork is a vase of sunflowers painted by Impressionist artist Vincent VanGogh (one of Mrs. Miller's personal favorite artists). The students drew their vase of sunflowers by hand by following along with a step by step demonstration. They then colored in every area of their drawing to protect the white paper before it is crumpled up (yup, you read that right) and painted over with watered down black paint. The crumpling will give the artwork the signature "crackle" effect that batiks have.
The first grade artists will then create their fabric batik by tracing their drawings with liquid glue on fabric. They will "dye" the fabric with paint, and then the glue will be washed away leaving behind white lines which is another classic batik characteristic. We can't wait to show you our awesome artwork once it is complete!
 |
| VanGogh Sunflowers hand drawn by Mrs. Speath's first graders. |
 |
VanGogh Sunflowers hand drawn by Mrs. Carpenter's first graders.
|
 |
| Some "Free Choice Art" creations after choosing that as a class reward for filling up their class palette! |
 |
| Some more creations that the students had so much fun making and were so proud of! ❤ |
Second grade artists are enjoying their clay unit by designing and making their Clay Picture Frames! The students came up with two different designs in their sketchbooks and chose their favorite. They then rolled out a slab of clay and cut out the shape of their frame with a paper template. The inside of the frame was removed and then the students set to work on adding designs to their frames while demonstrating a variety of clay making techniques. Somewhere on their frame they needed to use a coil, slab, texture, drawing, and negative space. Each of the students are loving the clay making process and are learning a lot along the way!
 |
| 2nd grade sketches for Clay Picture Frames! |
 |
| Teaming up to cut out slabs of clay using the paper template. |
 |
| Doing a great job, and easier with friends to help! |
 |
Having so much fun adding texture to the clay with the bottom of shows and/or texture plates!
|
Third grade artists are having a BLAST creating their Felted Tapestries! This is always a favorite project among students since it is such a unique art making process that uses tools like a needle, foam block or sponge, and different types of fiber materials. The artists were asked to create 3 different sketches... one representational, one abstract, and one non-representational. They then had a chance to experiment with their materials to better understand how the art making process worked AND what materials would make the most sense for their design.
The tapestries are now complete and the students are designing sticks to go along with their felting project. Once the stick is decorated, the students will learn how to sew the tapestry onto the stick with a "whip stitch."
 |
| 3rd grade artists creating sample pieces before making their larger dry felted tapestries. The students practiced using the tools properly and learned how to attach different materials together (yarn, wool roving, felt, and fabric) just with the use of a dry felting needle! No glue! |
 |
| Some Thorson students getting a hang of the dry felting and LOVING it! |
 |
| A couple of Parkview students wanted to give WET felting a try and their artworks turned out SO GREAT! Their chosen themes were a three tiered birthday cake with a number 9 candle and a snowman at sunset. The wet felting process involves layering loose wool roving, wetting it with soapy water, and rolling it in bubble wrap to join the fibers together using friction. |
 |
| A couple dry felted pieces. Both of these happen to be beautiful landscapes. Can you identify what materials the artists used? |
 |
| Part TWO of the project... designing a stick for the tapestry to hang from! Students used a variety of materials including: paint, tape (for masking method), yarn, beads, glitter, etc. |
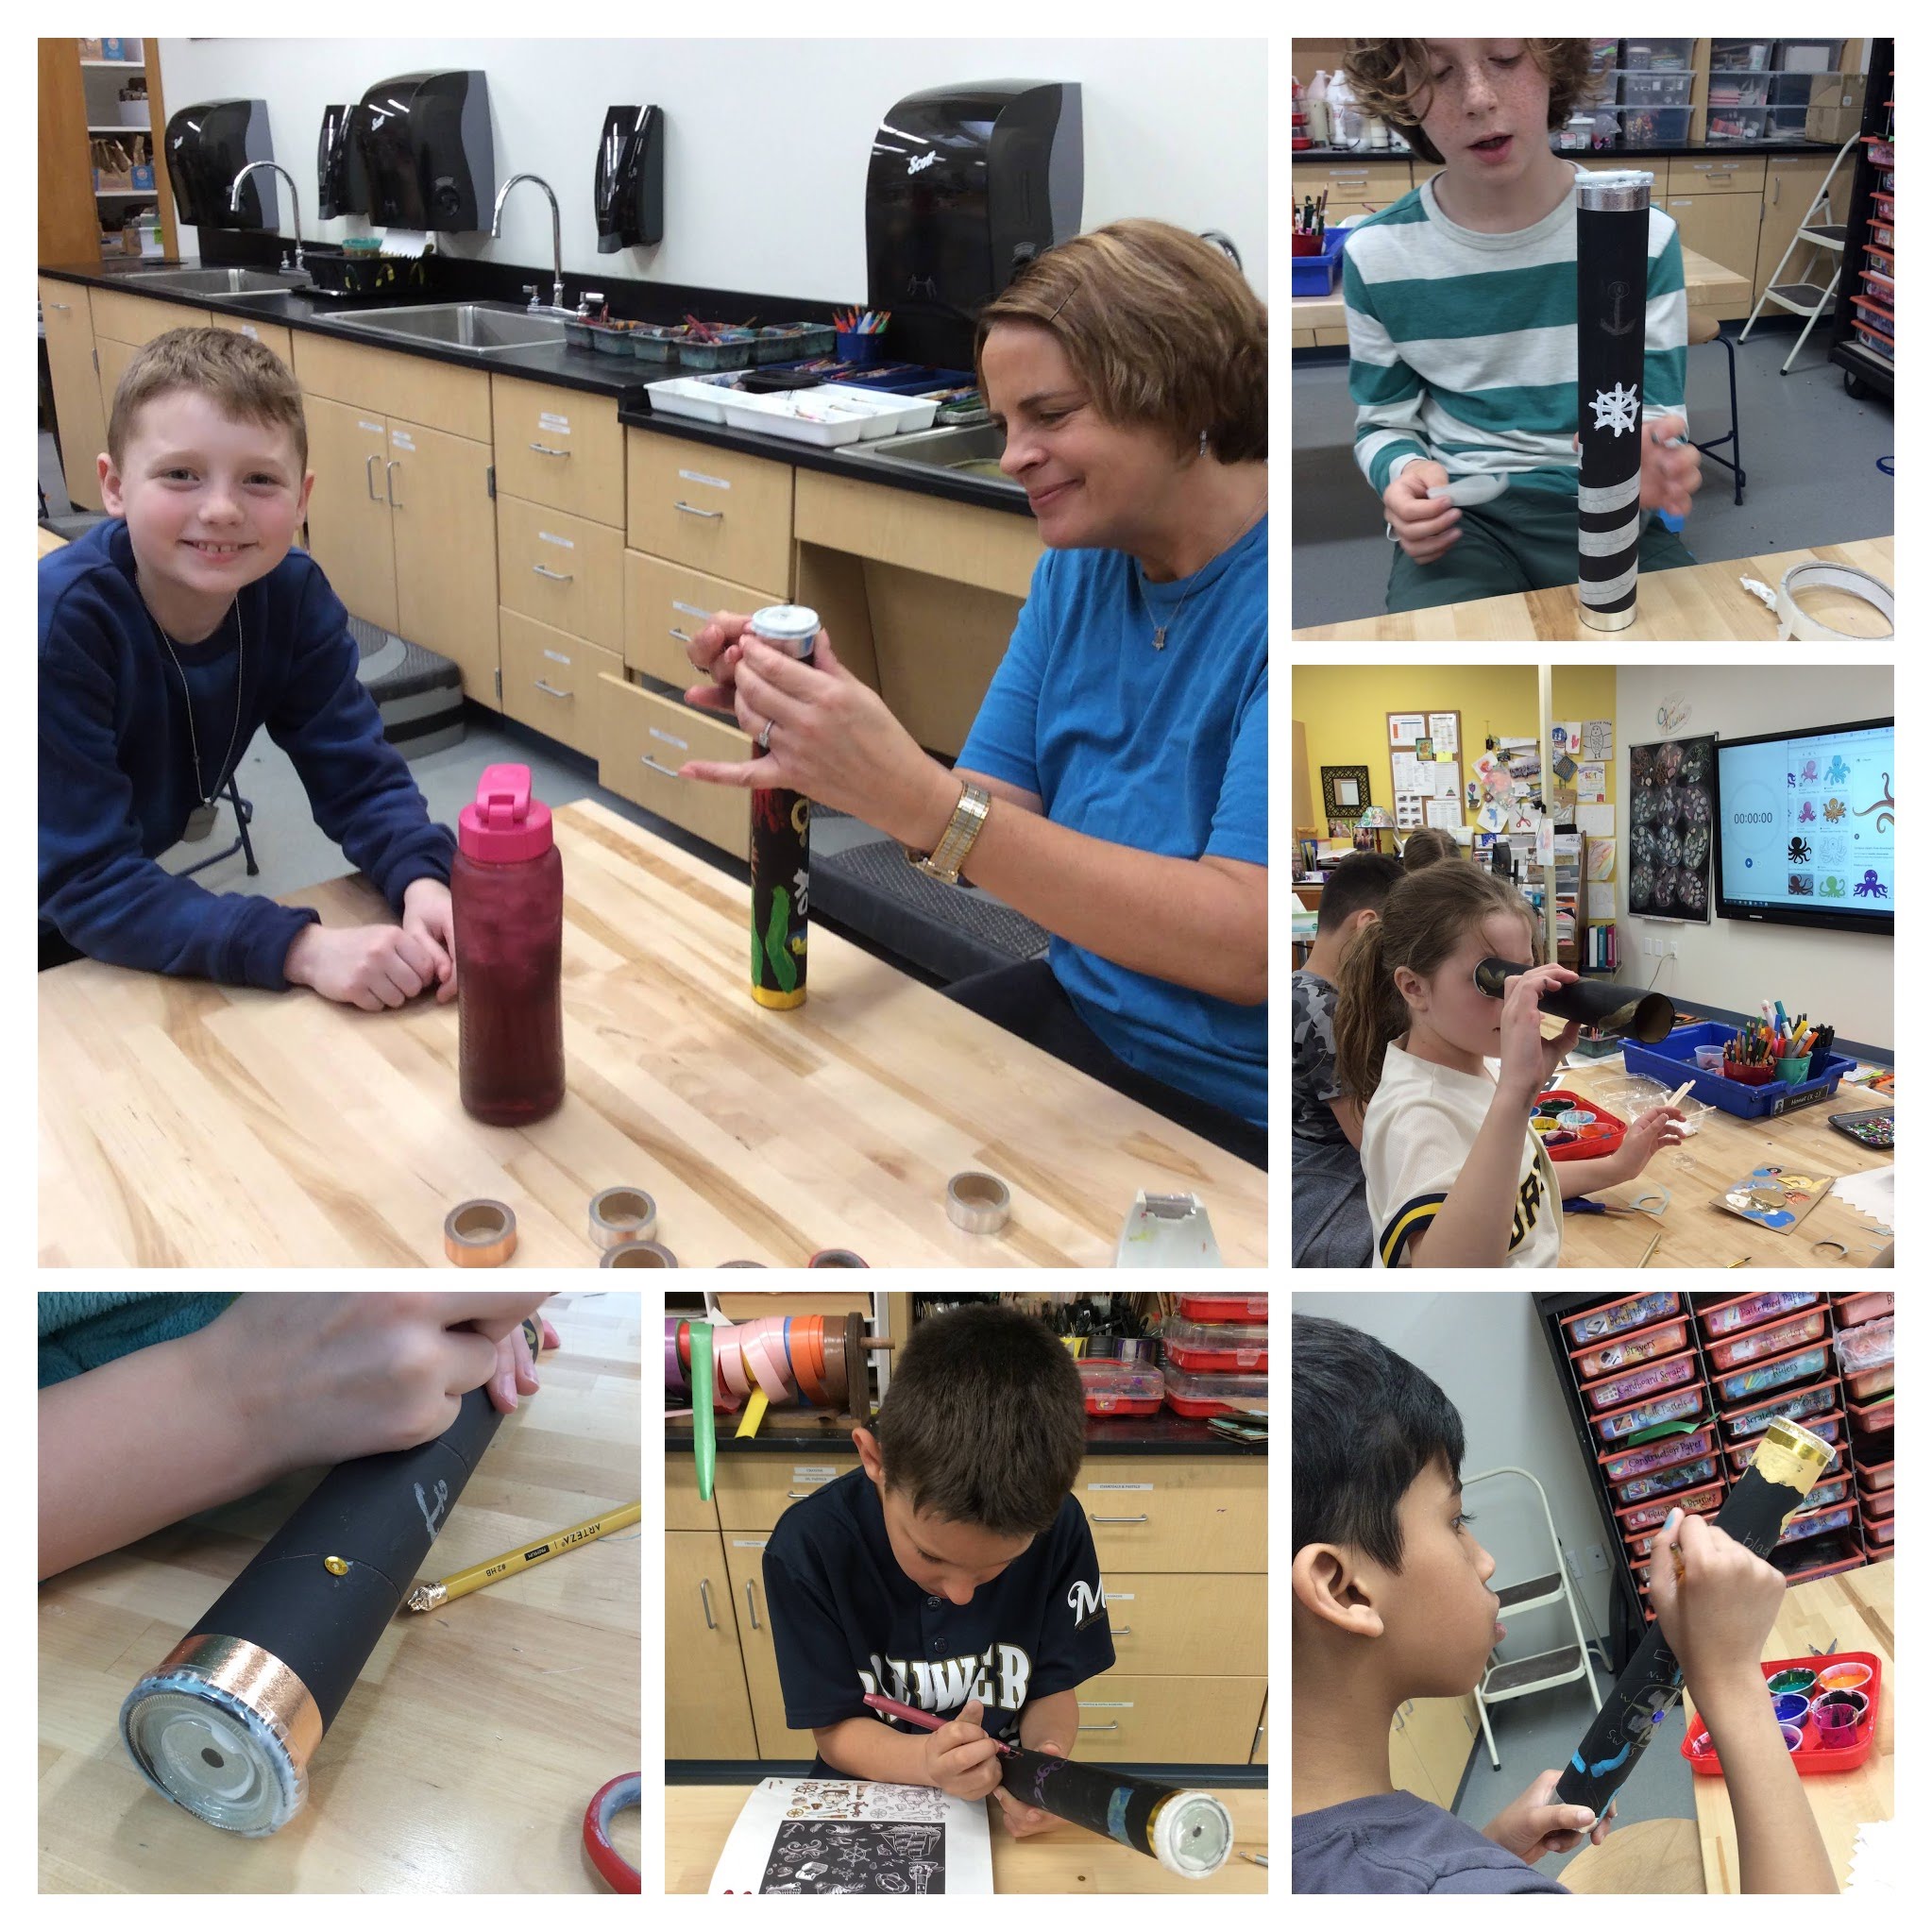
Fourth grade artists are diving into the pirate theme by making a prop for their 4th grade musical! They are making telescopes or "spy glasses" that are actually a kaleidoscope inside! The students had fun designing the outside with all kinds of pirate symbols and designs... even a pirate name if they wished. The pirate name generator we found was lots of fun to use :)
The inside of the spy glass is more functional than decorative since it needs to work as a kaleidoscope. With the use of plastic lids, paper, glue, hole punchers, cardboard, shiny paper and colorful shiny objects, we are managing to make colorful designs that are reflected with handmade mirrors! The students will be so excited to use their telescopes (disguised as kaleidoscopes) for the musical this May! Can't wait! :)
 |
| Looking good 4th grade! Each telescope is one of a kind! :) |
 |
| Some Thorson artists designing their artwork and musical prop! |
 |
| A favorite added feature was the metallic tape. Thanks Ms. Kurth for helping us add it :) |
Fifth grade artists wrapped up their Artist Inspired Self Portraits at the end of March! What a fun and challenging art project that was such a great learning experience for our fifth grade artists!
We are now in the process of designing the most anticipated project of all... Clay Cake Slices! The students were SO excited to choose a theme for their cake and begin searching for pictures of inspiration. The students learned how to draw a 3D cake slice in their sketchbooks and were asked to consider what their cake will look like from all angles. We will soon be rolling out MANY slabs of clay to construct the cake and will be attempting to recreate textures and designs in our clay making to make the cakes look real and inviting. We look forward to sharing our progress in the next art update, and also IN PERSON at the 5th grade Fine Arts Night (more info coming about that soon :)
 |
| Some AMAZING 5th grade Artist Inspired Self Portraits! |
 |
| Some classes filled their class palette and enjoyed earning Free Choice Art! Students got to use any materials they wished and then took their art creation home :) It was AWESOME seeing some students try art materials and techniques they saw fellow classmates using during the creation of their A.I.S.P. They were like "I saw that student doing an art making process for their artwork... can I try it too?" I happily said "YES!" |
 |
| SO COOL to see how each student interpreted their artists style and came up with their own unique piece of art inspired by that artist. Artists of inspiration: VanGogh (left), Giuseppe (top right), M.C. Escher (bottom left) |
 |
| 5th grade artists creating Seesaw presentations which will be accessible at the 5th grade Fine Arts Night through the use of QR codes! :) |